Category Archives: Recycled Crafts

Thomas Fabric Cake Topper

Standard

I probably mentioned this before but two of my kids and myself have birthdays three days in a row in December. Even with extensive planning, trying to make the most of the kids’ days while still enjoying mine is a bit overwhelming. Every year I keep trying to make it easier and less stressful for me. So when my son again requested a Thomas birthday cake I immediately knew I was not going to spend hours decorating something. My foray last year into the more “simplified” decorating plan of using a character cake pan(Lightening McQueen) wasn’t the easier choice I thought it was going to be and not something I wanted to repeat. I have a finite amount of hours and I’d rather spend them enjoying him as he enjoys his day rather than dealing with frosting.

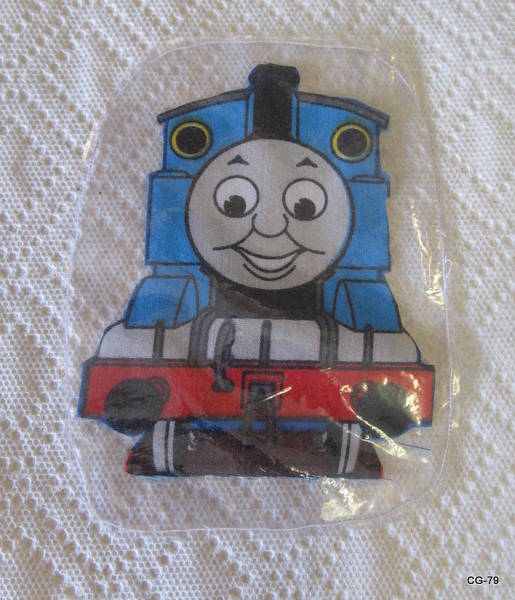
So I had the idea to make a vinyl-encased cake topper. Basically I bought a patterned sheet at Goodwill(for $2 and made two items out of it)and close cut a Thomas character from the fabric. If I had had some fray stop it would have been nice to use it but I’m rather cheap about buying supplies so none of that stuff here. 😉 I then cut two squares of vinyl. I had purchased a roll of high quality clear vinyl at Walmart years ago with the intention of making removable covers for our sunroom screens to keep the room more comfortable in the winter but I never got around to it before we moved. Anyway, I washed my squares of vinyl and then sandwiched the fabric between and sewed around it and cut outside the seam line. I was trying for an oval but since I was in a hurry I failed at making it very oval-ish. It didn’t really matter though since I layed the fabric decoration on my iced and raked cake and then piped a wide shell border around it over the stitched edge so that it was a true oval and around the borders of the cake. I then sprinkled the piped areas with blue colored sugar and surprised myself with how impressive it really looked. It was easy enough(with a circle cake)to slip the knife under the decoration to cut slices so that we could enjoy the look of it longer than simply removing it altogether to cut.

And I thought I had a picture of the cake decorated but alas I do not see it on my data card. Oh well, you will have to use your imagination. 😉

IMG_2522

These have the added fun of being reusable. Simply wipe off with a soapy towel and dry. Paper and print-outs from the computer could also be used instead of the fabric to get exactly what you want.
Sewn Wedding Card

Standard

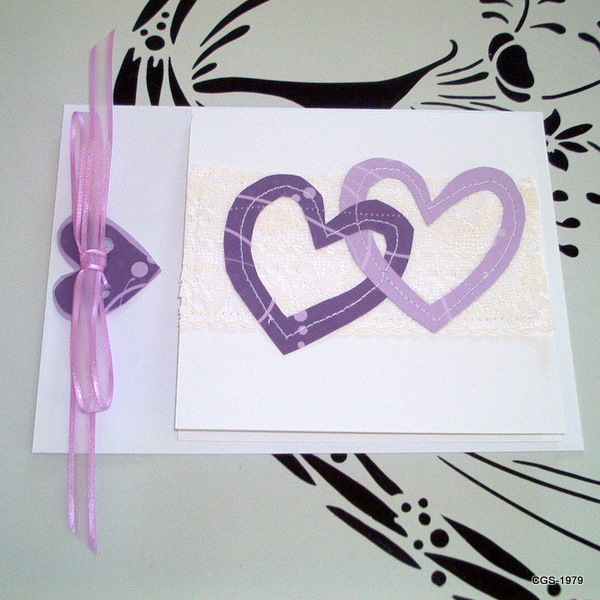
I like to make gift tags and cards using the invite people send to me. I figure they must have liked it so it’d be a neat way to catch their eye in lieu of an expensive Hallmark card.

Here’s a card and envelope I made recently for a wedding. It’s very simple but I think it turned out quite elegant. 😀

Terry Swiffer Covers

Standard

I made these quickly in two styles so I could decide which style worked best. I’m thinking that my original pattern, which I modified for #1 works best because it stays on the swiffer very well while I mop but it’s a pain to put on. The top pieces should be a stretch material, not cotton like in this sample, to make attaching the cover faster for mopping.

And #2. The pad shifts about a little bit while mopping.

I used an old towel for these.

I have a tutorial for a fleece Swiffer cover on this blog if anyone is looking for one. Fleece is fantastic for grabbing all those dust bunnies.

~Update: You can now find the tutorial for Terry covers here.~

Nifty Needlebook

Standard

I saw a cute organizer for sewing needles on Etsy and decided that it was something I really needed!
My needles have always been loose in a compartment in my sewing box. It is such a pain to find a needle the right size for a project.
Of course I wasn’t about to pay $18 for one when I had the materials to make one and the option of coordinating it to match my other sewing accessories.
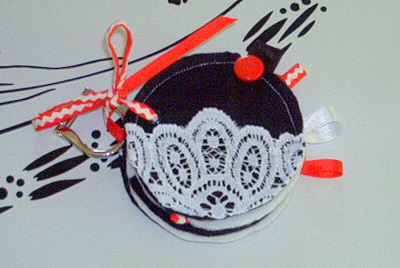
Using felt, embroidery floss, eyelets and an eyelet punch, lace, vintage ribbon and rick-rack , salvaged ribbon bits, a purse ring, and some vintage buttons I made this:
IM003070
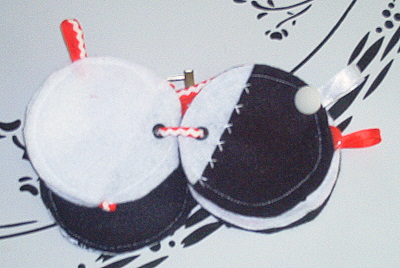
Here’s ‘page 2’:
IM003065
Page 3:
IM003066
Page 4:
IM003067
And page 5 with its’ thimble pocket:
IM003068

I have got to start taking pictures outside. The red in real life is a true crayon red, not fluorescent as it seems to appear on screen.

I used a drinking glass for my circle shapes just in case you wanted to make one yourself. 🙂

The purse ring will allow me to quickly attach a pair of scissors to the needlebook or to attach the needlebook to a work-bag.

Now I just have to dig out all my needles and sort them!

Disc Golf Accessessories Part 1

Standard

Now that hubby and I each have our bags and used them I’ve discovered that we need a few accessessories to enhance our game. Disc place markers, clip on towels and strap pads are needed.

Today I made the place markers.

I made hubby’s from an inner ‘beanbag’ that was filled with recycled plastic beads, an outer bag from leftover bandanna fabric and because hubby wanted a stiff feel to the marker I also inserted two circles I’d cut out of old drink mix canister lids. You can see those materials and the finished marker in this horrible lighted picture:

IM003053

I made mine as just a simple bead filled ‘beanbag’.

IM003054

They’re about 4 inches across, completely washable and not so awesome that I’m afraid of losing them on the course.

FYI, these markers are used to mark your throwing point from wherever your disc lands. You would place this marker immediately in front of your disc location and then pick up and bag your disc. This way if you throw another disc and walk off you’ve only left the marker behind and not a disc which I’ve done about 4 times now. Of course you’re supposed to pick up your marker but if you forget then you’ll just have lost a beanbag and not a $9 disc(or a $4 mini disc that you can buy for a marker).

Hubcap Clock

Standard

I borrowed this idea from someone selling on Etsy. My dad provided me with this shiny old hubcap. My husband drilled the hole in the center and I added the clockworks that I purchased for 40% off at the craft store. I was originally going to paint the hands black but I have silver and gold in the room where this hangs so it co-ordinates well. im002950